
Menu:
Roof Rack Removal
A number of cars use the welds/brazing between the roof and quarter panels as mounting points for a roof rack. When ununsed, this is protected by a strip of plastic which I was keen to remove to improve my car's aesthetics.
In addition to some other cosmetic work, I asked my local bodyshop to fill in the roof rack mounts to give a smooth transition from the roof to the quarter panels. Unfortunately, the fiberglass filler they used expanded when exposed to strong sunlight and cracked the paint. The bodyshop's second attempt using multiple smaller layers to reduce the number of air bubbles failed a few weeks after application.
A number of years later, I decided to fix this problem once-and-for-all myself by TIG welding a strip of 0.7 mm steel in place of the filler. A weld to the original bodywork could not not possibly move, though it proved a very slow process because continuous welds produced enough heat to distort the original bodywork, requiring small spot welds to prevent the spread of heat.
The Fix
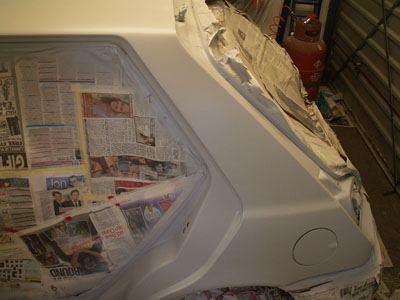
Here is the filler after a small chip was removed. The white primer can be seen due to the expansion at the nearest corner and the reflection of the glove shows distortion along the length of the roof. Even so, taking a chisel to it was a brave step...
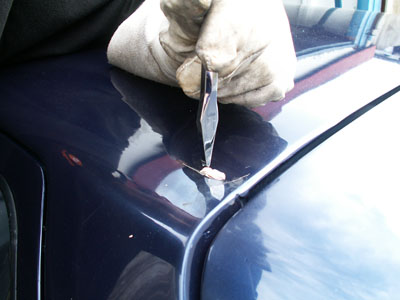
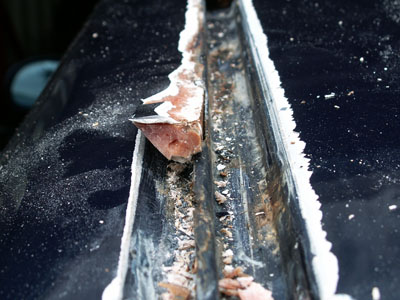
Rust caused by the ingress of water beneath the filler can be seen on the right. Air bubbles trapped inside the filler probably contributed to the expansion.
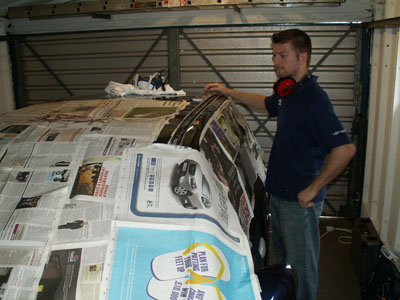
This is the look of a guy who is thinking, "What have I got myself into?" The newspaper protected the paintwork from flying chips of filler.
The respray the car received at the bodyshop did not include the door shuts as the doors need to be removed first. Fiesta doors are mounted by a pin to a hinge that is welded to the body. The hardened pin is splined and forced into the end of the hinge making it very difficult to remove; in the end the lower hinges from all four doors had to be ground off and rewelded after the pin had been removed.
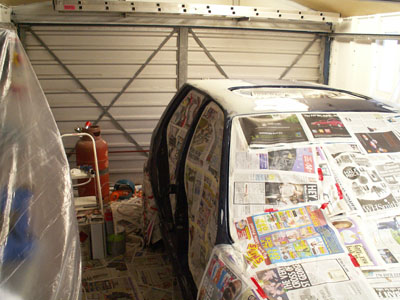
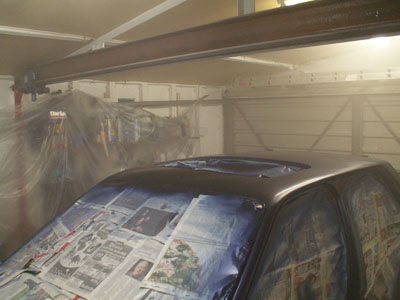
The fillerwork was particularly challenging to apply and sand because of the gentle curve towards the very front. The entire car was masked with two layers of newspaper; I should have used proper masking paper as it is thicker and easier to apply but this served its purpose nevertheless.
The priming was the most straightforward painting step because of both the high solid content reducing the amount of airborne matter and the ease with which the paint coverage could be seen in the shadows at the bottom. See my refinishing page for more information on respraying in the home workshop. I rather liked the car in white but a full respray was too much work at this point.
The basecoat dries non-glossy and is sprayed in thin layers so it flashes off very quickly. This immediately precedes the clearcoat with a wipe of a tack cloth to remove any dust.
See below for an edited video of the respray.